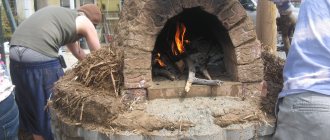
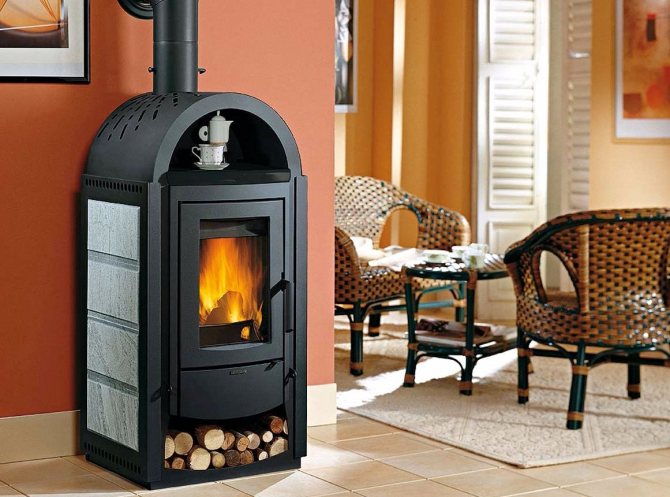
The process of lining a bath stove A steel or cast iron stove is an opportunity to quickly and inexpensively equip a bath with a source of heat and steam. But it often looks unpresentable, and it is not safe to use.
Brick in this respect is much better, but it is difficult to fold it on your own, and it is expensive to pay a specialist. You can choose the best compromise option: metal + brick. It will be cheaper, since it is realistic to impose a brick on a metal stove with your own hands.
How to do it correctly, what requirements to fulfill and take into account the nuances, this article will tell.
The advantages of such a solution
A metal oven heats up very quickly, but no less quickly and cools down. In order for the temperature in the bath to be comfortable, it must be constantly heated during washing. And this is an extra consumption of firewood or other fuel.
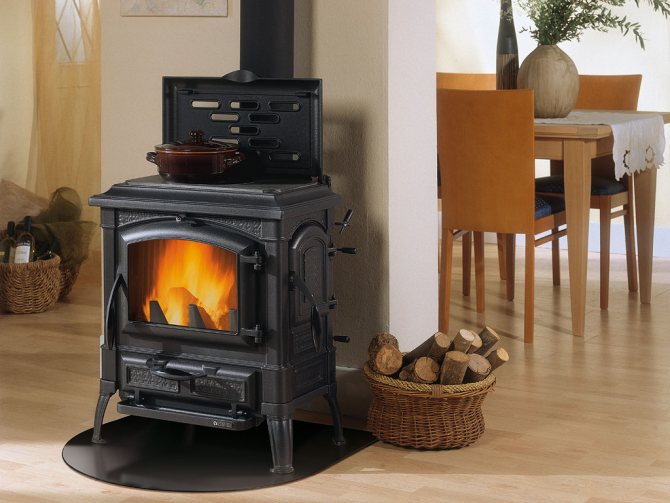
In addition, the heat from the hot metal is too dry, and it is easy to burn on its surface and cause serious injury.

Hot metal walls are a common cause of burns
But if the iron stove is overlaid with bricks, these disadvantages disappear, but significant advantages appear.
Namely:
- Long and uniform heat release, as the heated brick cools slowly;
- Reducing fuel costs, the price of which is of particular importance if the stove heats the house and is heated daily;
- The heat from such a furnace is not sharp and scalding, but soft and pleasant;
- It's much safer to be around her;
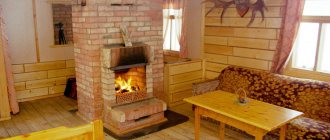
- Lined potbelly stove looks much more aesthetically pleasing;
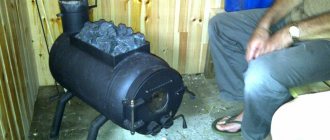
Homemade stove stoves made of ferrous metal are especially in need of finishing
- It is much easier to overlay a metal stove with a brick than to fold a fireplace with a chimney, and it will cost less.
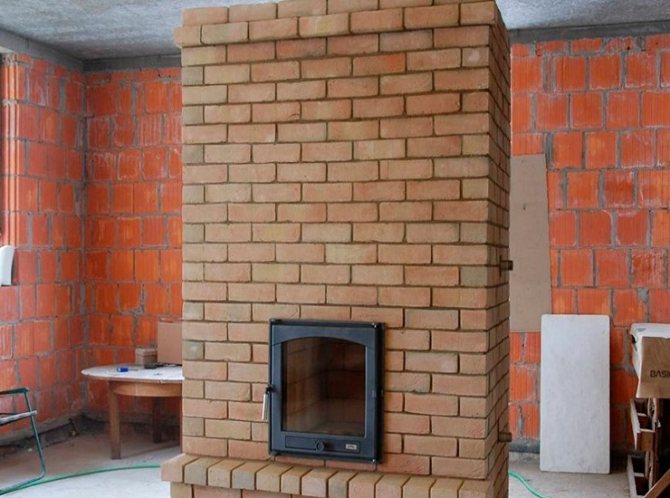
Which is better - brick or brick lined
Before installing a brick oven in a house or a bathhouse, the question arises, how best to do this - to immediately build from bricks or overlay an existing metal one? Each of these options has both pros and cons:
- Brick laying of the stove provides a longer cooling period after the fire goes out and a long service life - the brick does not burn out as it can happen with metal over time. But its construction requires participation in the construction of an experienced craftsman, as well as more complex chimneys.
- In the presence of a metal stove, especially a steel one, which cools down much faster than a cast-iron stove, you can overlay it with bricks to increase the heat capacity and maintain air humidity that is comfortable for breathing. But as experience shows, such a move is beneficial for a very small room (bath) and in the case of a long stay in it - longer than one day. Such a hearth will both cool down for a long time and heat up for a long time, not immediately warming the cooled house, and for coming to the country in winter for just one day, such inertia is useless.
Russian stove
INTERESTING! The use of a ready-made metal furnace with a brick lining will save fuel due to the long-term preservation of temperature and the function of secondary combustion, which modern furnaces are equipped with.
Brick cladding in the steam room
Materials and tools
When deciding how to properly lay a brick on an iron stove, first of all you need to decide on the materials suitable for this. They must have special characteristics.
Brick
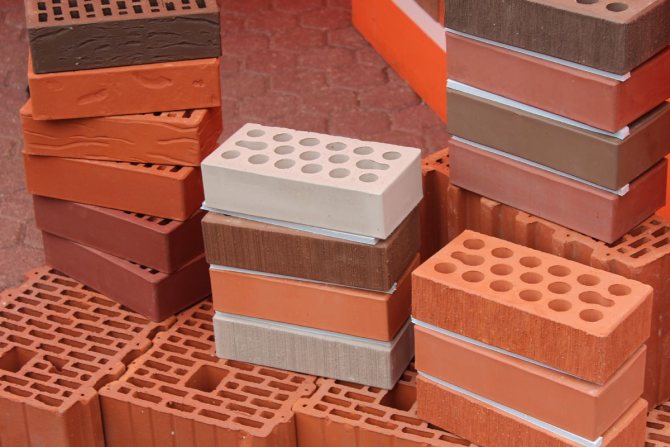
The main material for facing must be of high quality: no voids, with high heat resistance and fire resistance.
There are two options to choose which brick to lay over the iron stove in the bath:
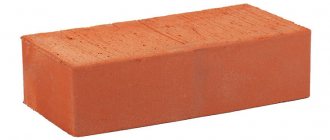
- Clay brick. It is used for lining the body, masonry of the firebox and chimney of a wood-burning stove. It happens as an ordinary, front, with a decorative front surface.
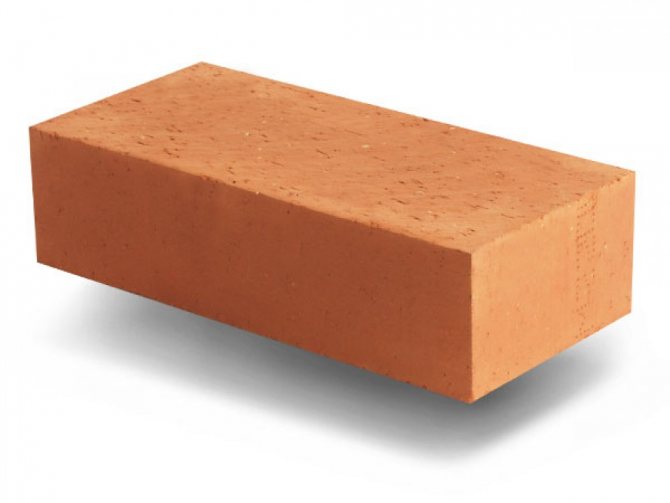
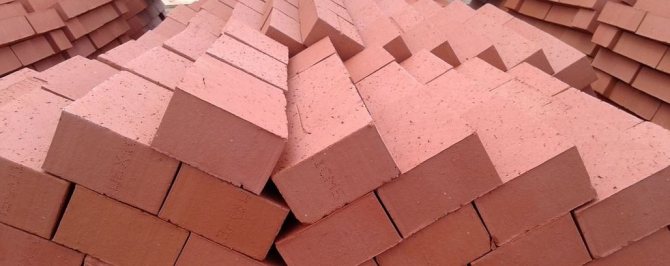
Ordinary solid brick
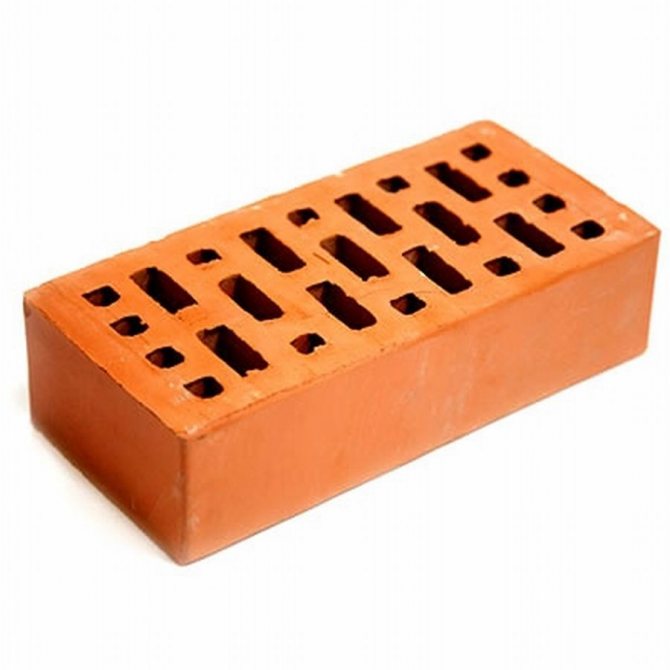
Face brick
Facing brick with a decorative surface "oak bark"
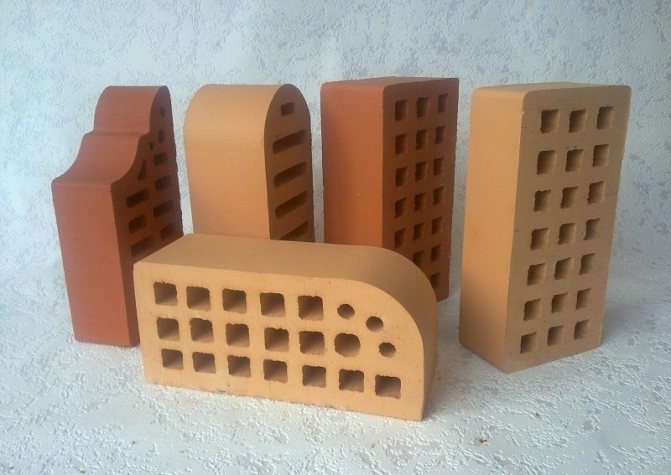
With the help of figured bricks, you can create unique shapes
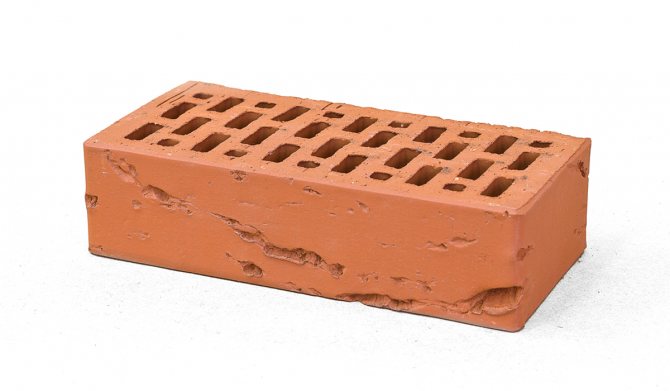
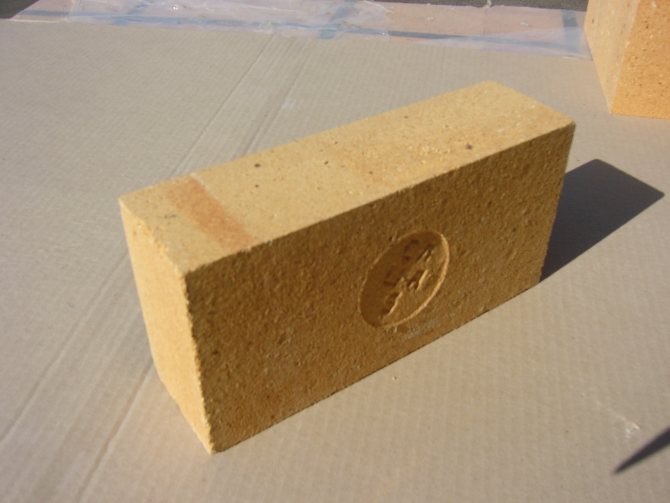
- Refractory fireclay bricks. Withstands temperatures up to 1800 degrees. It is recommended to use it for masonry and cladding of coal-fired stoves.
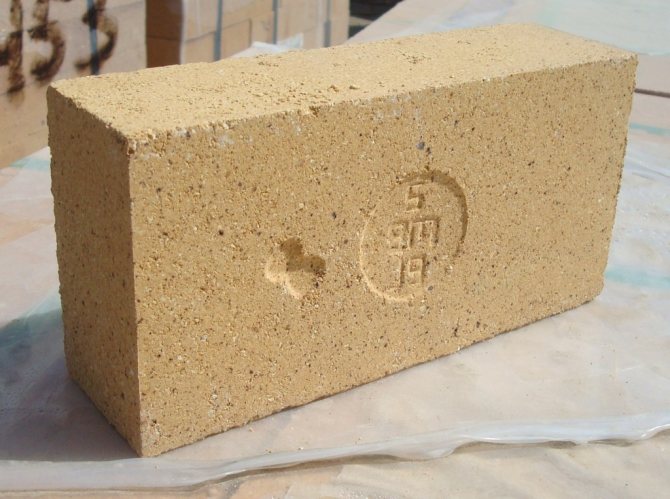
Fireclay brick
Advice. If the appearance is not so important, a brick that was in use, cleaned of mortar, is also suitable for cladding.
The approximate amount is calculated depending on the method of masonry (half or quarter brick) and the perimeter of the cladding. This takes into account the dimensions of the furnace itself and the distance between it and the lining. The amount required for the construction of the site is also added here, since it is possible to impose a brick on a metal furnace only on a solid foundation.
For reference. Facing a quarter brick will be cheaper due to material savings. But it is difficult to maintain such masonry, and the efficiency of thin walls is much lower.
With such a laying, a brick is placed on a spoon - a narrow long part
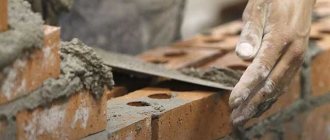
Solution
The ideal masonry mortar is made of clay and sand in specific proportions, depending on the quality of the clay. Without experience, it is very difficult to do it. Therefore, it is best to buy a ready-made refractory mixture based on red clay.
Before you impose a brick on the cast-iron firebox, you just need to dilute it with water, as required by the instructions on the package.
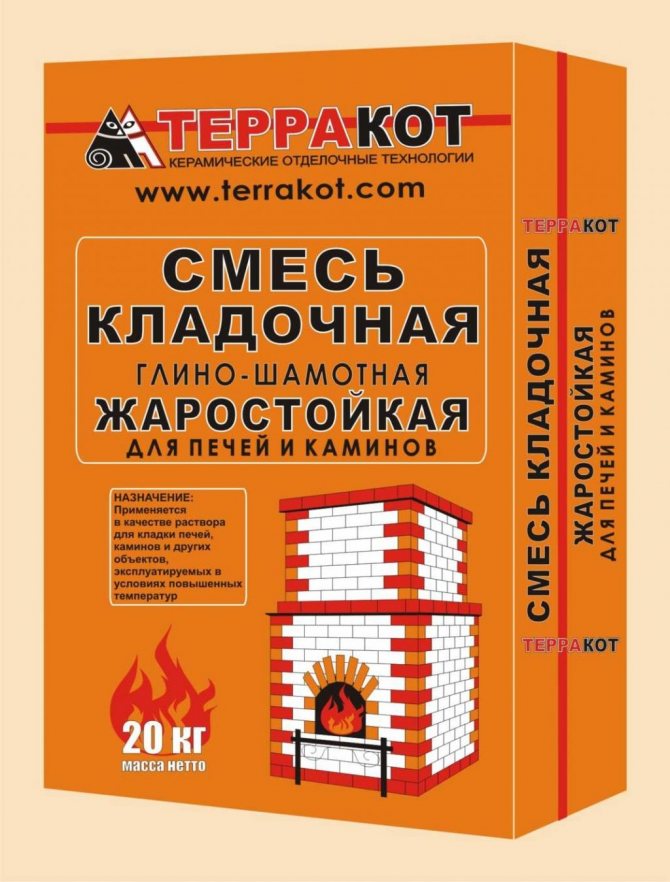
Heat-resistant mixture Terracotta
In addition to brick and masonry mix, masonry mesh and refractory sheeting may be needed to create a protective shield for wood surfaces. And also roofing material as waterproofing.
Instruments
Tools to do this work will require the following:
- Solution container;
- A trowel for his set;
- Hammer for adjusting bricks;
- Pickaxe for dividing them into parts;
- Joining for seams;
- Ordering - a rail with divisions applied to it, the distance between which is equal to the height of one or more rows, taking into account the thickness of the seam;
- Building level and plumb line for level control;
- Cord to control the evenness of horizontal rows.
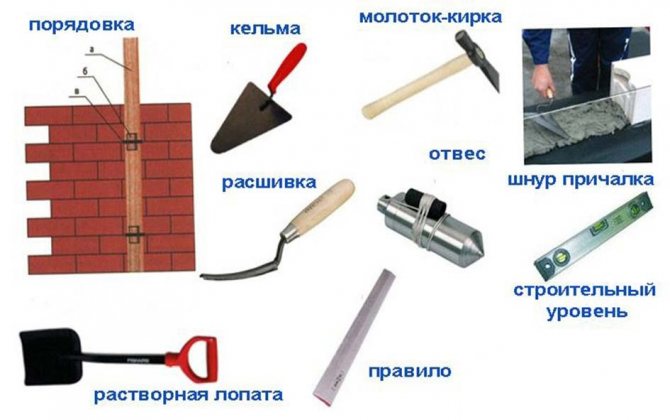
Necessary tool for masonry
Also, a sponge or rag and a bucket of clean water will not interfere to remove the solution from the front surface of the masonry.

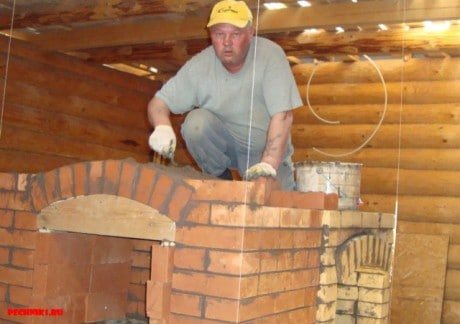
Self-laying oven
Laying a brick stove can be a real art in the presence of an experienced stove-maker who has not only the skills of proper masonry, but also the ability to design brick products.
Design
The design of the stove can be different and depends on your wishes and its purpose:
- "Dutch" can be used purely for heating. It takes up little space and is equipped with a channel, channelless or combined chimney.
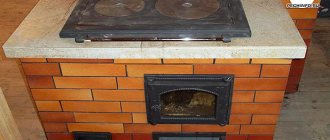
- In "Russian" you can cook food and bake pies, as it is equipped with a stove and an oven. It also has a stove bench located above the firebox and a ducted chimney system.
- "Shvedka" with a stove bench or a fireplace has a stove, an oven, a section for drying mushrooms and fruits, as well as a complex chimney system.
Correct laying
Mixing the mortar and the masonry itself are made in the same way as in the case of lining a metal furnace. Here, for greater strength and accuracy of the structure, you can use metal corners and the so-called "pins" with a diameter of 16 mm. With their help, both the internal frame and the entire external finish are formed.
TIP! With a masonry width of no more than 1 m, to create perfectly even seams, you can use iron rods with a square section (pre-lubricated with machine oil), on top of which a mortar and a new row are placed. Then the rods are carefully pulled out without the subsequent sedimentation of the laid out row.
When installing the pipe, one should not forget that the distance from it to the elements of the roof system of the house must be at least 15 cm.
Design
The maximum of creativity will have to be applied to the one who lays brick ovens with a pretense of architecture and style. Here are possible:
- Arches,
- Columns,
- Curly elements and more.
For laying out arches, you can use templates cut out according to previously prepared drawings from drywall. Figured brick elements can be cut using a grinder.
Arches layout
Desire, imagination and a little knowledge will help you create a hot miracle in your home - a brick oven according to old designs, decorated in a modern style. All that remains is to insulate the house itself - and you will be provided with warmth and comfort in any weather.
Cladding
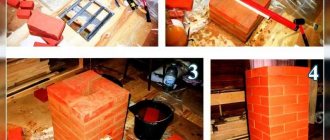
Before laying a brick on a metal stove in a bath, you need to prepare for work.
Preparatory activities
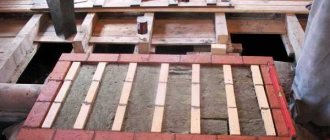
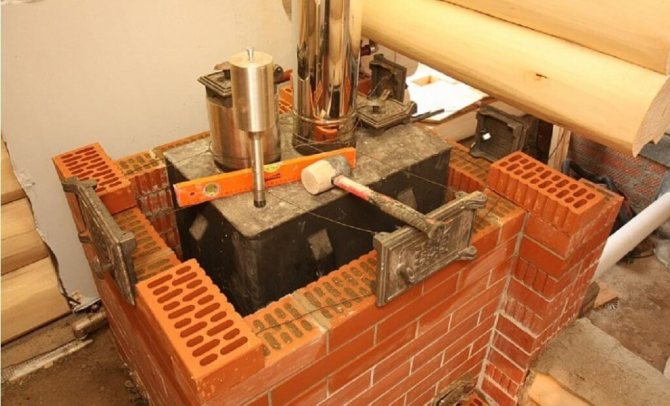
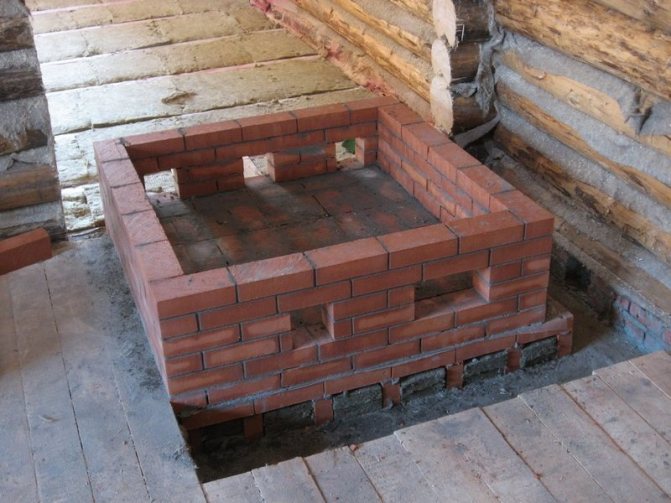
Laying can only be started after the concrete and brick base has dried. A metal stove is installed on it, and the markings of the future cladding are made around it.
But first, it is necessary to install a fire-resistant shield made of any fire-resistant materials on the wooden walls around the hearth.
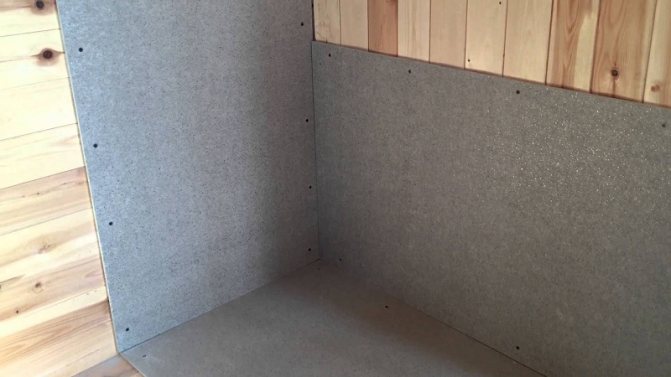
Insulation of wooden walls and floors with minerite
If you decide to prepare a masonry mortar from clay, then you need to fill it with water for several days, and sift the sand thoroughly. Since it is difficult to lay a brick on an iron stove, and it is difficult not to stain its case with a solution, before starting laying it should be protected with paper, cardboard or film, fixing them on the walls with adhesive tape.
To prevent water from the solution from being absorbed into the brick, it is soaked in water about half an hour before starting work.

Brick soaking
Masonry
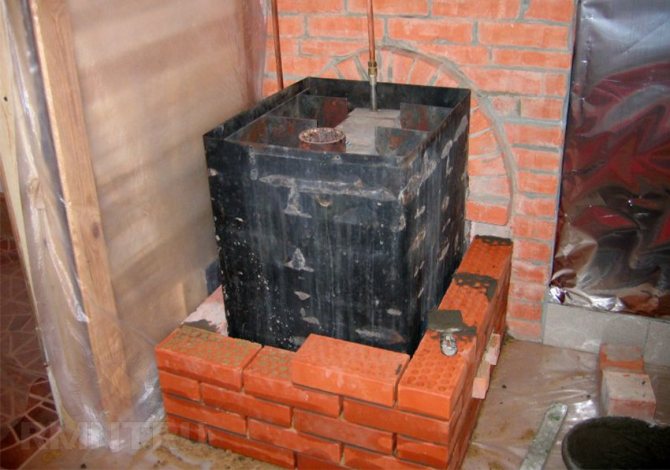
When deciding how to brick a cast-iron stove, it is better to choose a masonry in half a brick. A thicker screen will take longer to heat up, and a thinner one will cool down faster.
- The laying of the first row begins from the far corner, laying a whole brick. It is very important to lay it out evenly and neatly, since all subsequent rows will be equal to it.
- They are laid out alternately, with an offset of half a brick. Do not jump over the row, first lifting the corners and then filling the space between them.
Laying is performed with an offset
- The permissible thickness of the horizontal seam is 8-10 mm, of the vertical one 3-5 mm.
- The seams are completely filled with mortar, its excess is immediately removed from the surface with a trowel.
Bricks that go beyond the plane are knocked out with a hammer or mallet
- During the masonry process, you need to constantly monitor the verticality of the walls and corners using a plumb line or a building level.
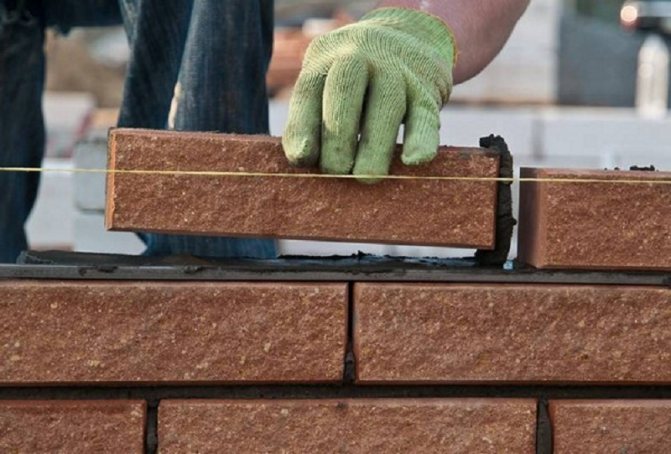
A string stretched along the upper edge of the row will help to lead the row strictly horizontally
Advice. You can install flat bars in the corners of the future structure, spreading them between the floor and the ceiling. They will serve as a guide for the corners, and the cord stretched between them can be moved higher with each row.
Auxiliary uprights make your work easier
- To strengthen the masonry, you can put a reinforcing mesh into the seams every two or three rows.
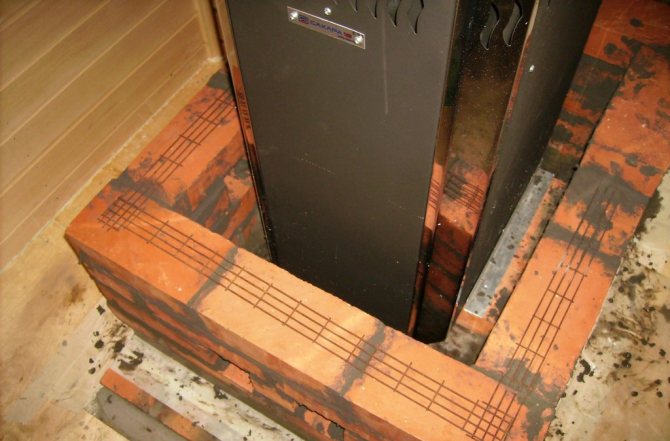
The photo shows the reinforcement of the masonry with a metal mesh
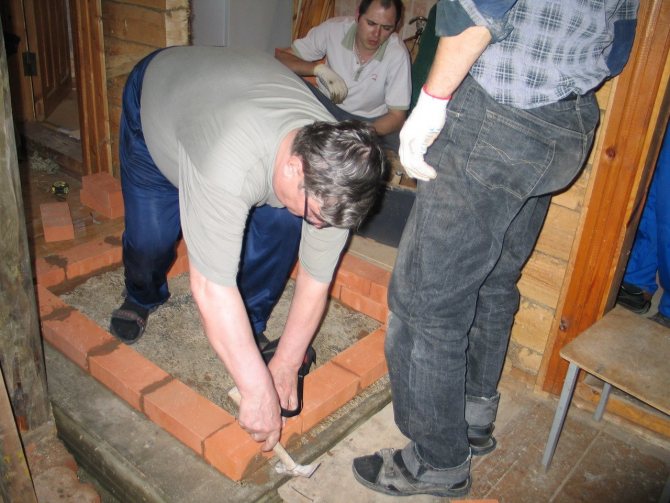
- Also, every two or three rows, you should embroider the seams until the solution has lost its elasticity, and wipe the surface from the remains of the solution with a wet rag.
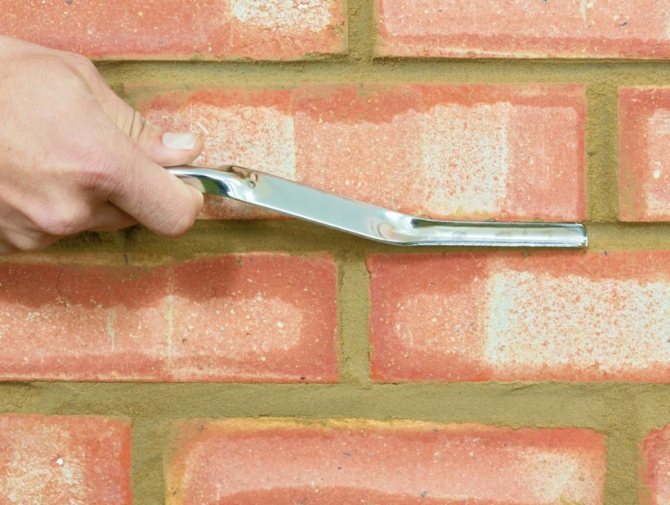
Joining seams
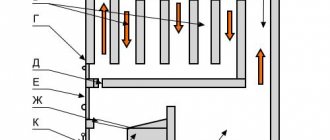
- When laying out the walls, it is necessary to leave ventilation holes in them: at least two on top and two on the bottom. Cold air will enter the lower ones, protecting the stove from overheating, and through the upper ones, heated air will come out.
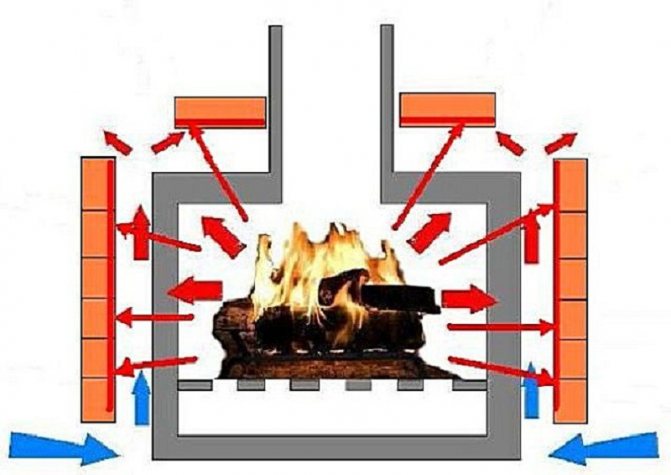
Furnace ventilation diagram
- Alternatively, you can revet the oven with bricks laid in a checkerboard pattern with holes between all adjacent elements.
- Around the doors of the firebox and ash-pan, the masonry should be carried out taking into account their full opening.
The brick will have to be cut if it interferes with the opening of the doors
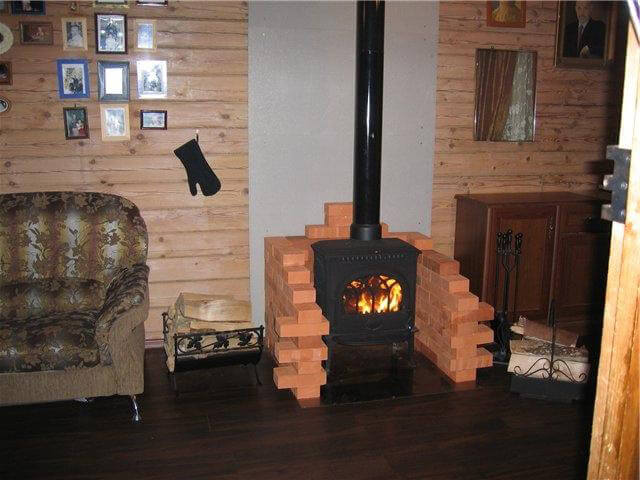
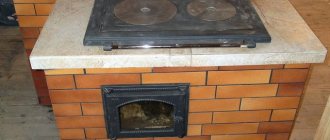
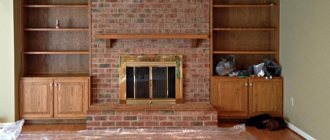
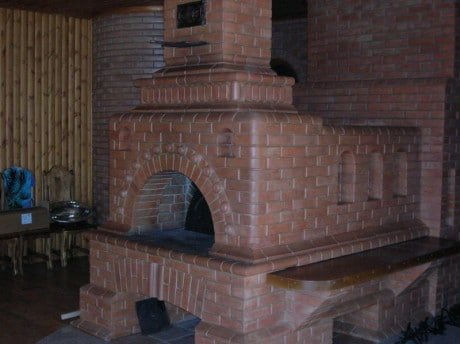
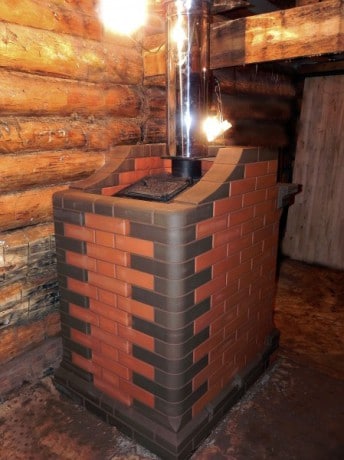
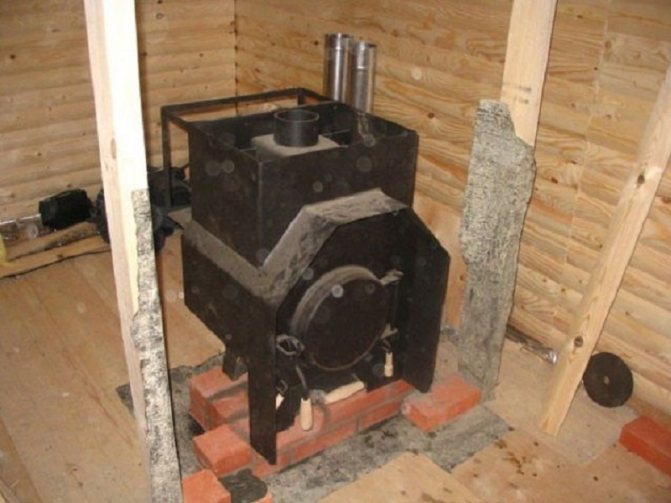
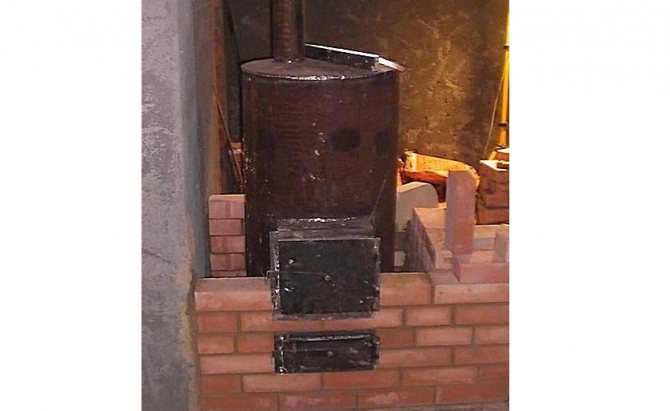
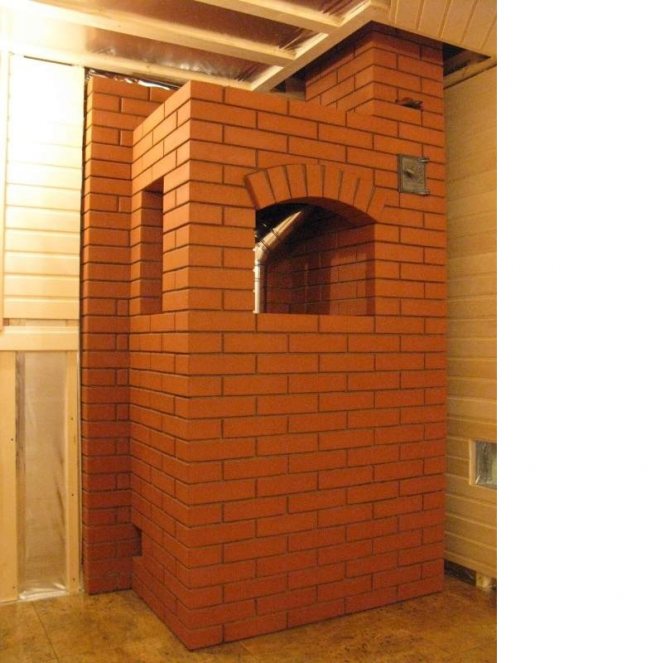
- Where to finish laying is up to you. If you have a stove with a stove or a stove, it is only brought up to the top of the cabinet. You can lift it up to the ceiling. And you can make curly masonry with a vault and lining of the chimney, turning an ordinary potbelly stove into a kind of fireplace.
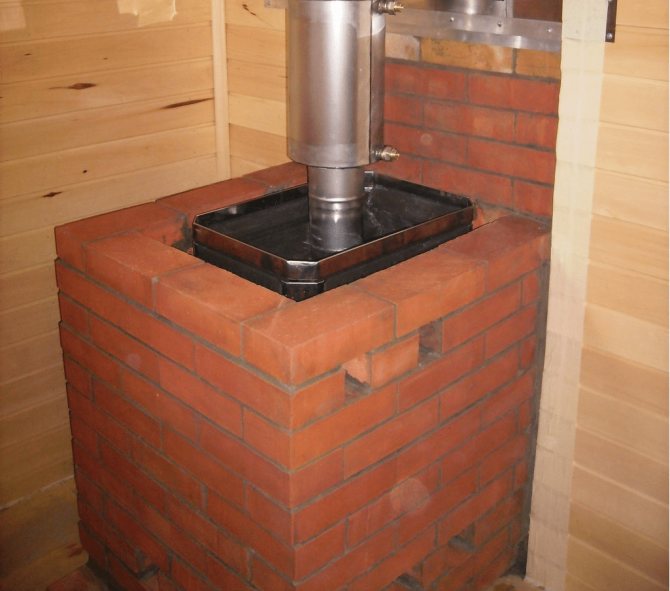
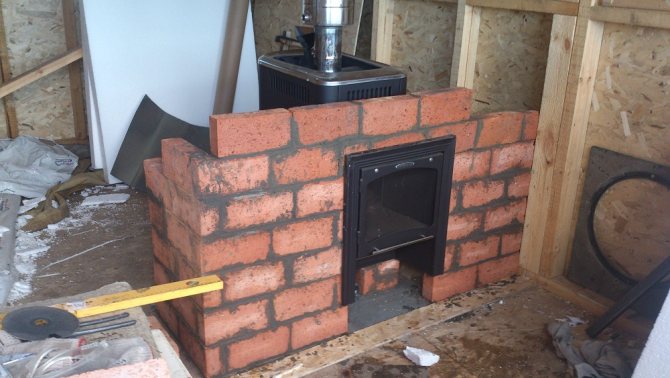
Metal stove for a bath, lined with brick to the pipe
Full-height masonry version with pipe lining
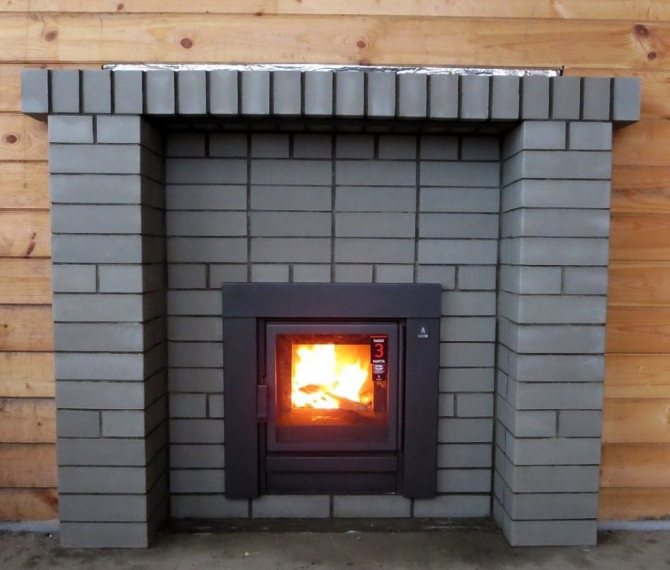
A brick portal turned an ordinary stove into a real fireplace
Now you need to let the solution dry for at least a day. It is desirable that this happens in natural conditions, so it is better not to heat the stove for now.
How to brick a metal stove in a house - step by step guide
Metal aggregates offer many advantages over brick ovens. But metal structures have a big drawback - their body gets very hot, and this circumstance can cause inconvenience if they are installed in a room or bath. The solution to this problem is the brick facing of the units.