Do-it-yourself sauna stove
Let's put aside the purchase of a ready-made sauna stove and talk about the opportunity to make a sauna stove on our own. It must be said frankly that this is not an easy task. In this matter, the home master is unlikely to help the husband for an hour.
You need to start work on creating a furnace with planning. You probably know that there are two types of sauna stoves:
- Brick.
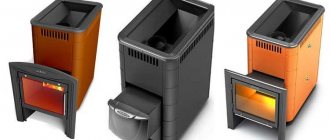
- Metal or heaters.
The main difference to be understood when planning is the bulkiness of the brick oven and the compactness of the heater. As a result, a brick stove requires a large room, and the stove can be placed in a small sauna stall.
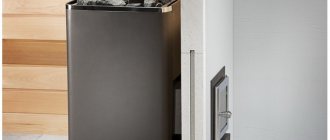
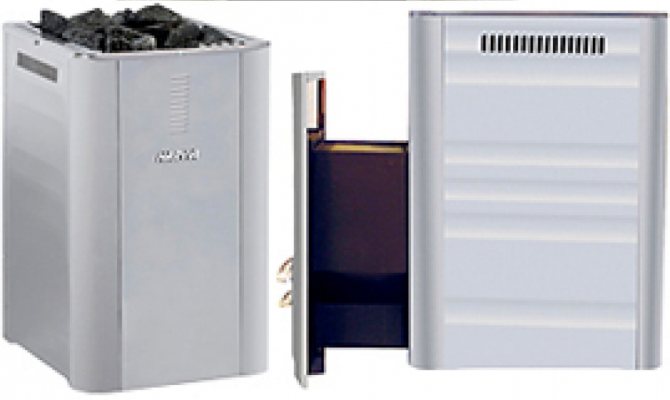
The best foreign boilers for a wood-fired bath with a tank
When choosing a boiler for a wood-fired bath, you should also think about its safety. Domestic models are often non-volatile, for foreign products, an electricity connection is required
Harvia 20 ES Pro S
The budget version of the Finnish manufacturer, which is distinguished by a long service life, high performance and convenient operation.
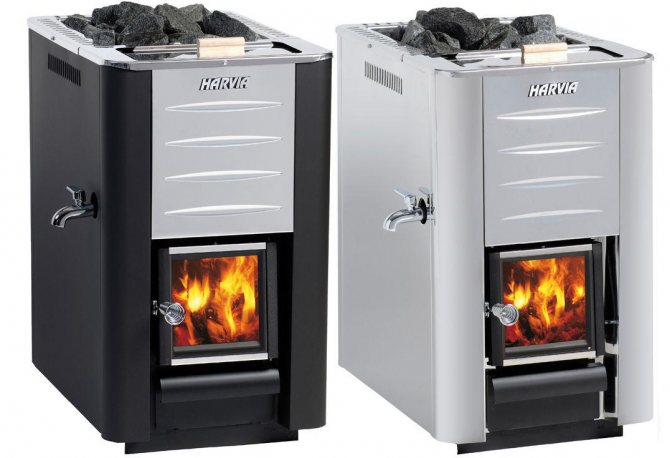
Harvia 20 ES Pro S
Model specifications:
- Dimensions - 430x760x650 mm
- Weight - 75 kg
- Thermal power - 18 kW
- Chimney diameter - 115 mm
- The volume of the built-in tank is 20 liters.
The external casing of the unit is made of stainless steel, there is a cast iron door with glass to complement the special atmosphere of the sauna with reflections of fire.
The average cost of the furnace will be 39,000 rubles.
Harvia 20 ES Pro S user manual
HARVIA 36 DUO
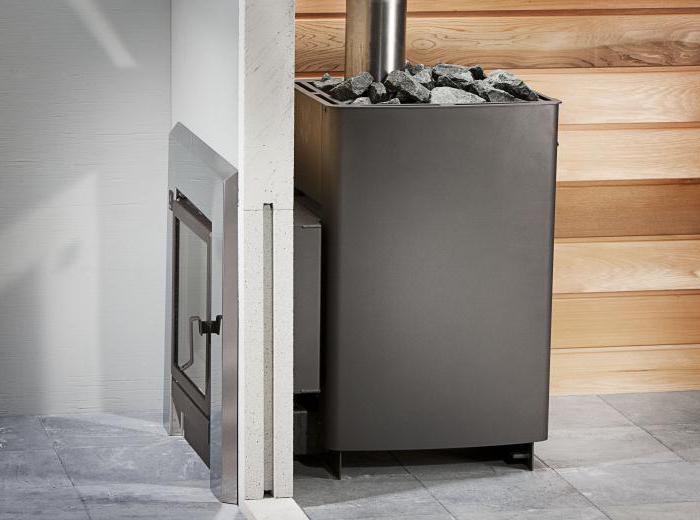
The peculiarity of this model is that the body is made of stainless steel, resistant to corrosion, which is especially important when using the device in a sauna or bath. The stove is installed in the steam room, but the firebox is carried out from the adjacent room.
HARVIA 36 DUO
Specifications:
- Dimensions - 810x510x510 mm
- Weight without stones - 80 kg
- Thermal power - 31 kW
- Steam room volume - 14-36 cubic meters
- Chimney diameter - 115 mm
The average cost is 89,000 rubles.
Operating instructions HARVIA 36 DUO
Kastor Karhu 18 PK ES
A model with a built-in tank from a well-known Finnish manufacturer, which has been supplying high-quality stoves for baths and saunas to the European markets for almost 100 years. Kastor Karhu 18 PK ES is made of stainless alloyed metal, with a heat-resistant glass insert in the door.
Kastor Karhu 18 PK ES
Product Specifications:
- Dimensions - 435x695x780mm.
- The volume of the tank is 26 liters.
- Chimney diameter - 135 mm.
- Furnace weight - 76 kg.
- The volume of the steam room is up to 18 cubic meters. meters.
The average cost of this model will be 49,000 rubles.
Operating instructions Kastor Karhu 18 PK ES
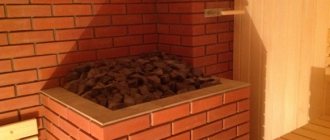
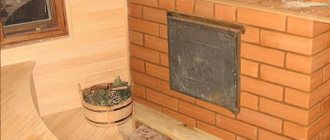
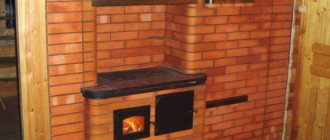
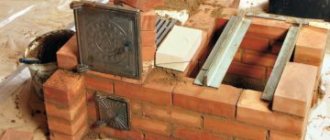
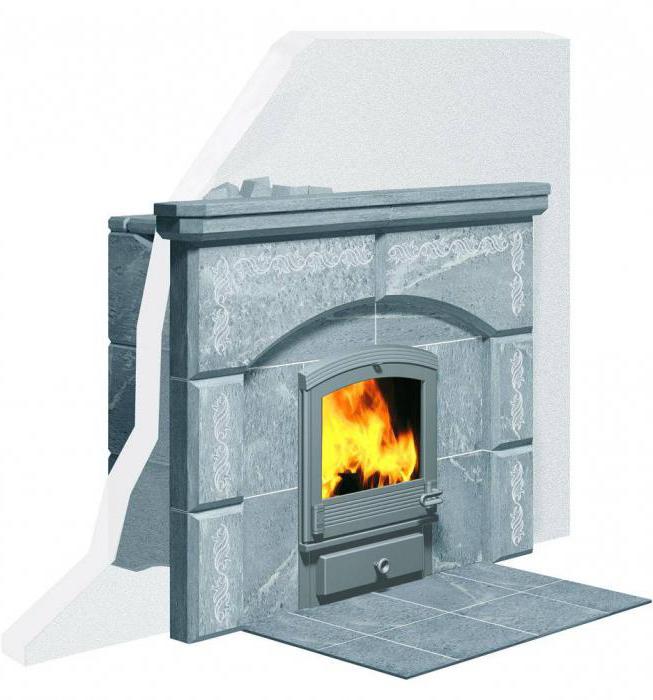
Brick oven for a bath
It is difficult to make a stove for a bath yourself from bricks, but it is possible. Let's talk about the stages of work to go through.
Brick
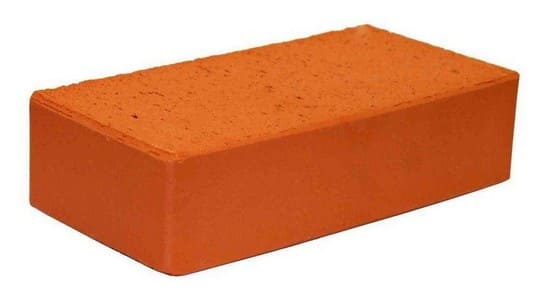
First, you need to choose a brick to build. For ovens, you need to choose refractory bricks. The best option would be a corpulent clay brick for stoves. (1st grade - GOST 8426-75).
When choosing a brick for a stove, it is important to pay attention to its quality. The brick should be:
- Demon chips;
- Have a solid red color;
- Do not have melted ends;
- When you hit it, it should ring, and not "plump";
- There should be no black spots on it. If they are, then this is a simple red brick for construction.
Brick dimensions 250 × 20 × 65, weight 4 kg. Price ± 29 rubles per piece. A meter of masonry weighs 1350 kg, which is 200 bricks.
Foundation
Secondly, for a brick oven it will be necessary to make a foundation, with all the ensuing purchases of cement, roofing material, formwork, etc. The type of foundation for the furnace depends on its size, but usually a slab foundation (reinforced concrete slab) is chosen.
The choice of the height of the foundation is important. There are three options here:
- Below floor level. With this option, the combustion air is not taken from the steam room.
- Flush with the floor.
- Above floor level.
In size, the foundation for a sauna stove should be 10-15 cm larger than the stove itself around the entire perimeter.
Briefly, let me remind you how to make an independent slab foundation of a small size.
- A rectangular pit is dripping to the level of freezing of the earth (selected by region);
- A sand cushion of 150 mm is poured into the pit. Sand is either rammed and filled up, or spilled with water and filled up;
- Next comes a pillow made of brick battle, 250 mm thick;
- The next layer of medium fractional crushed stone should not exceed 10 cm;
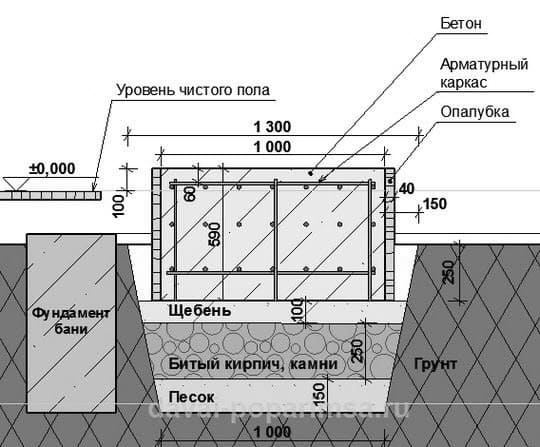
Note: Often, instead of a multi-layered cake, they make a small pit and get by with a pillow of one rubble 10-15 cm thick. Depends on the size of the stove.
- According to this pie, the formwork is being built. It is better to make the upper level of the formwork even. So it will serve as a rule for creating a mirror of the foundation;
- The reinforcement mesh is tied into the formwork into an arbitrary frame, but not protruding from the top of the formwork;
- It remains to pour concrete into the formwork, for example M 400 (1: 1.2: 2.7) - (C: P: Sch).
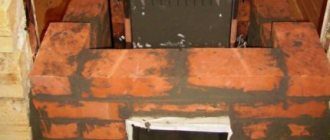
Bake
Thirdly, the oven itself. You can easily find schemes for laying stoves for a bath on the Internet, here I will draw your attention to a mortar for laying a stove.
Any stove, including a sauna stove, is placed only on clay mortar. Any kiln grout options will not work. Let me briefly remind you how to correctly make a clay mortar for laying a stove.
- Buy red clay in bags;
- Soak the clay in water for 5 days;
- Stir the clay solution in the form of a thick jelly;
- Add sand to the batch in a ratio of 1: 3;
- Optionally, but you can add 10% cement to the resulting solution;
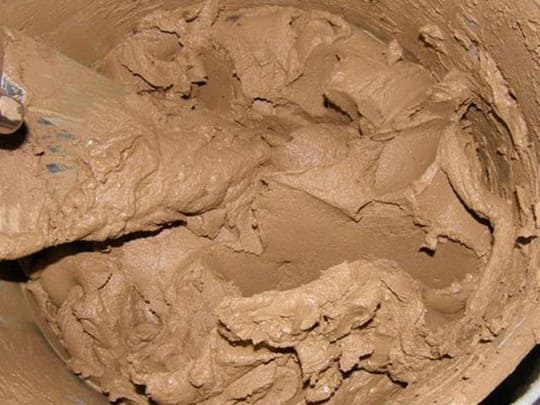
Clay mortar check
After general mixing, the density of the solution should be such that it slides off the working tool, inclined at 45˚. The solution should not stick to the instrument. If it sticks, add sand, if it spreads into a puddle, add previously soaked clay.
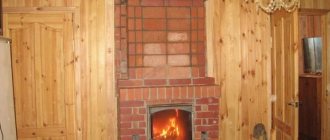
Methods of work
The installation of the stove in a bath with a remote firebox at the next stage involves making a hole in the wall or ceiling, which depends on the method of exhausting gases. The holes should be oversized. The stove is temporarily installed in its place to check the position of the chimneys and the remote firebox. The holes are adjusted if necessary, the master will have to make an accurate marking.
All elements are connected into a single structure. The gas exhaust pipes are assembled, their dimensions must be adjusted and the method of fastening and thermal insulation determined. This is where you can finish the fitting and start installing the oven.
Things to consider when developing a project
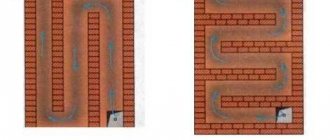
The layout of a 4x6 bath (washing and steam room separately) requires taking into account the following indicators:
- Soil type. The design of the foundation will depend on this. For example, a shallow strip foundation is suitable for sandy soil. Therefore, when choosing a foundation, it is better to consult a specialist. He will assess the characteristics of the soil and recommend the most suitable type of foundation and building materials.
- Determination of the area of \ u200b \ u200bthe bath, the number and location of rooms. We have proposed a 4x6 bath layout. The sink and steam room are located separately from each other. This allows you to create a hot atmosphere directly in the steam room, and a comfortable, warm atmosphere in the washing room. There is also a relaxation room, in which there is a pleasant coolness, where it is pleasant to spend time with friends.
- Determination of the area of each room. The layout of a 4x6 bath (wash and steam room separately) should include several rooms. The rest room together with the vestibule (can be combined) and in some cases with the porch (veranda) should occupy on average half or a third of the entire area, depending on what is located in them. The washroom and the steam room occupy an approximately equal area of the remaining.
- Furnace location. The stove must be placed so that the door is located towards the dressing room. The heater should be in the steam room itself, and the container with water should be in the sink.This option is convenient to use, and it turns out that the stove is located in the center of the bath. This will warm up all the rooms sufficiently.
- Washing equipment. Optionally, it can be equipped with a shower stall. Also in the room it is necessary to provide a place for benches for washing.
- Features of the door design. For safety, all doors must open outward. It is recommended to make the door to the steam room with a low frame and a high threshold (about 30 cm). This design will reduce heat loss.
- The need and location of ventilation, sewerage and water supply systems. You also need to think about the power supply of your new bath.
Additionally about the foundation
One of the main stages of self-installation of the furnace is the foundation device. This stage should be given increased attention, because the base, filled according to the rules, is the key to the long and full functioning of the furnace. In addition, the base is able to prevent dangerous situations. But there are cases when you can do without it, while you need to take care of the quality of the floor base, the surface of which is laid with heat-resistant ceramic tiles and porcelain stoneware.
If this condition cannot be met, then you need to equip a non-combustible concrete base. Its dimensions should be such that the structure protrudes 20 cm above the floor surface. This indicator is the most optimal, because if you plan to arrange a structure with a brick jacket and a massive chimney, then the weight of the system will be impressive. When arranging a concrete screed, the floor will rise slightly. Sometimes stoves are installed on a brick bed, but this will require careful calculations.
Alternative solution: cast iron construction
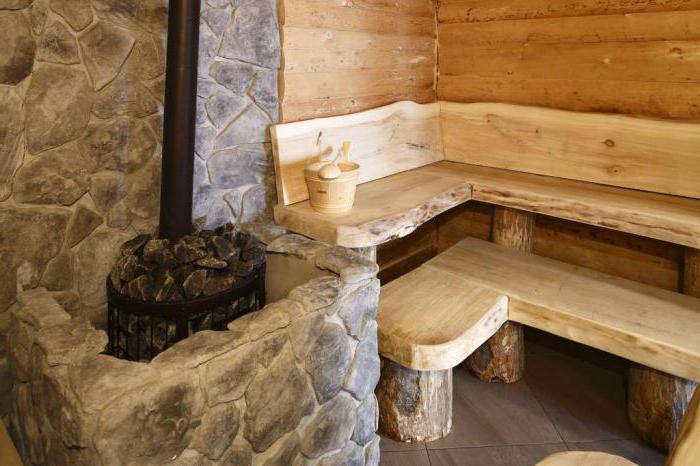
A rather large list of advantages is possessed by gray heat-resistant cast iron, which is often compared with high-alloyed metal. Its thickness is usually 10 mm, while in a metal furnace it is much thinner - 6 mm. Cast-iron sauna stoves with a remote firebox have an impressive weight, which reaches 250 kg. Such a mass is tangible, therefore, it may require a separate foundation.
The firebox for such structures can be elongated or conventional. The remote version, as a rule, is elongated and is in great demand. The fuel for cast iron stoves is usually peat briquettes or firewood. But it is not recommended to use lignite or bituminous coal, because it has a high combustion temperature.
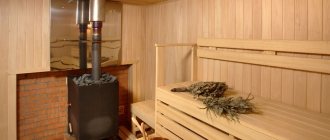
Steam room arrangement
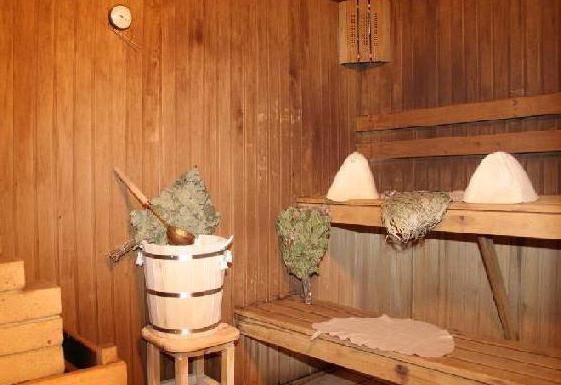
The internal structure of the steam room should also contain a 4x6 bath layout. The steam room, located separately from the washing room, allows you to create the necessary atmosphere of warmth and privacy. It should be practical and comfortable.
The layout of a 4x6 bath with a separate steam room provides for a ceiling height of no higher than 2.2 meters. This is due to the peculiarities of air circulation. It is recommended to use wood as a material for the ceiling and walls. For example, lining made of alder, linden or aspen. For the floor, it is preferable to choose porcelain stoneware or natural stone. Only on top of it is a wooden flooring laid. You can also make the floor wooden, but this type of flooring is believed to be short-lived.
The steam room shelves are installed along the wall. You can arrange them with the letter "G" - this saves space and allows you to accommodate more people.